How to Prepare for a Roof Inspection for Insurance
Understanding the role of a roof inspection in your insurance claim
When your roof takes damage from a storm, hail, or just years of weather, getting repairs covered by insurance can feel like a maze. The first real step is often a roof inspection. But not every inspection is the same. An insurance roof inspection is a specific process where a contractor or adjuster examines the roof to document damage, assess cause, and estimate repair costs. Homeowners in areas like Cedar Park and nearby North Austin communities deal with hail and storm damage regularly, so knowing how this inspection works can make the difference between a smooth claim and a long headache.
Your roof is the main barrier between your home and the elements. Insurance policies typically cover sudden, accidental damage from events like hail, wind, or falling tree limbs. Gradual wear and tear, on the other hand, is usually excluded. That is why the inspection matters so much: the inspector has to determine whether the damage was caused by a covered event or by age and neglect. Understanding this upfront helps you prepare and sets realistic expectations for what your claim may cover.
What happens during an insurance roof inspection
An inspector will walk the roof surface, looking for specific types of damage. For hail damage assessment, they check for dents, cracks, and bruising on shingles. Hail can leave small circular marks or even split asphalt shingles. Metal flashings may show dimples. The inspector also checks for storm restoration needs: missing or lifted shingles from high winds, debris impact, or water penetration around vents and chimneys.
The process includes a careful review of flashings and seals. These are the metal or rubber pieces around roof edges, skylights, and plumbing vents. If seals crack or flashings pull loose, water can enter under the shingles, leading to interior leaks. The inspector will note any visible gaps or corrosion. They also look at roof age: older roofs are more likely to have pre-existing wear that complicates a claim. A roof past its expected lifespan may only get partial coverage for repairs, even if a storm caused the final damage.
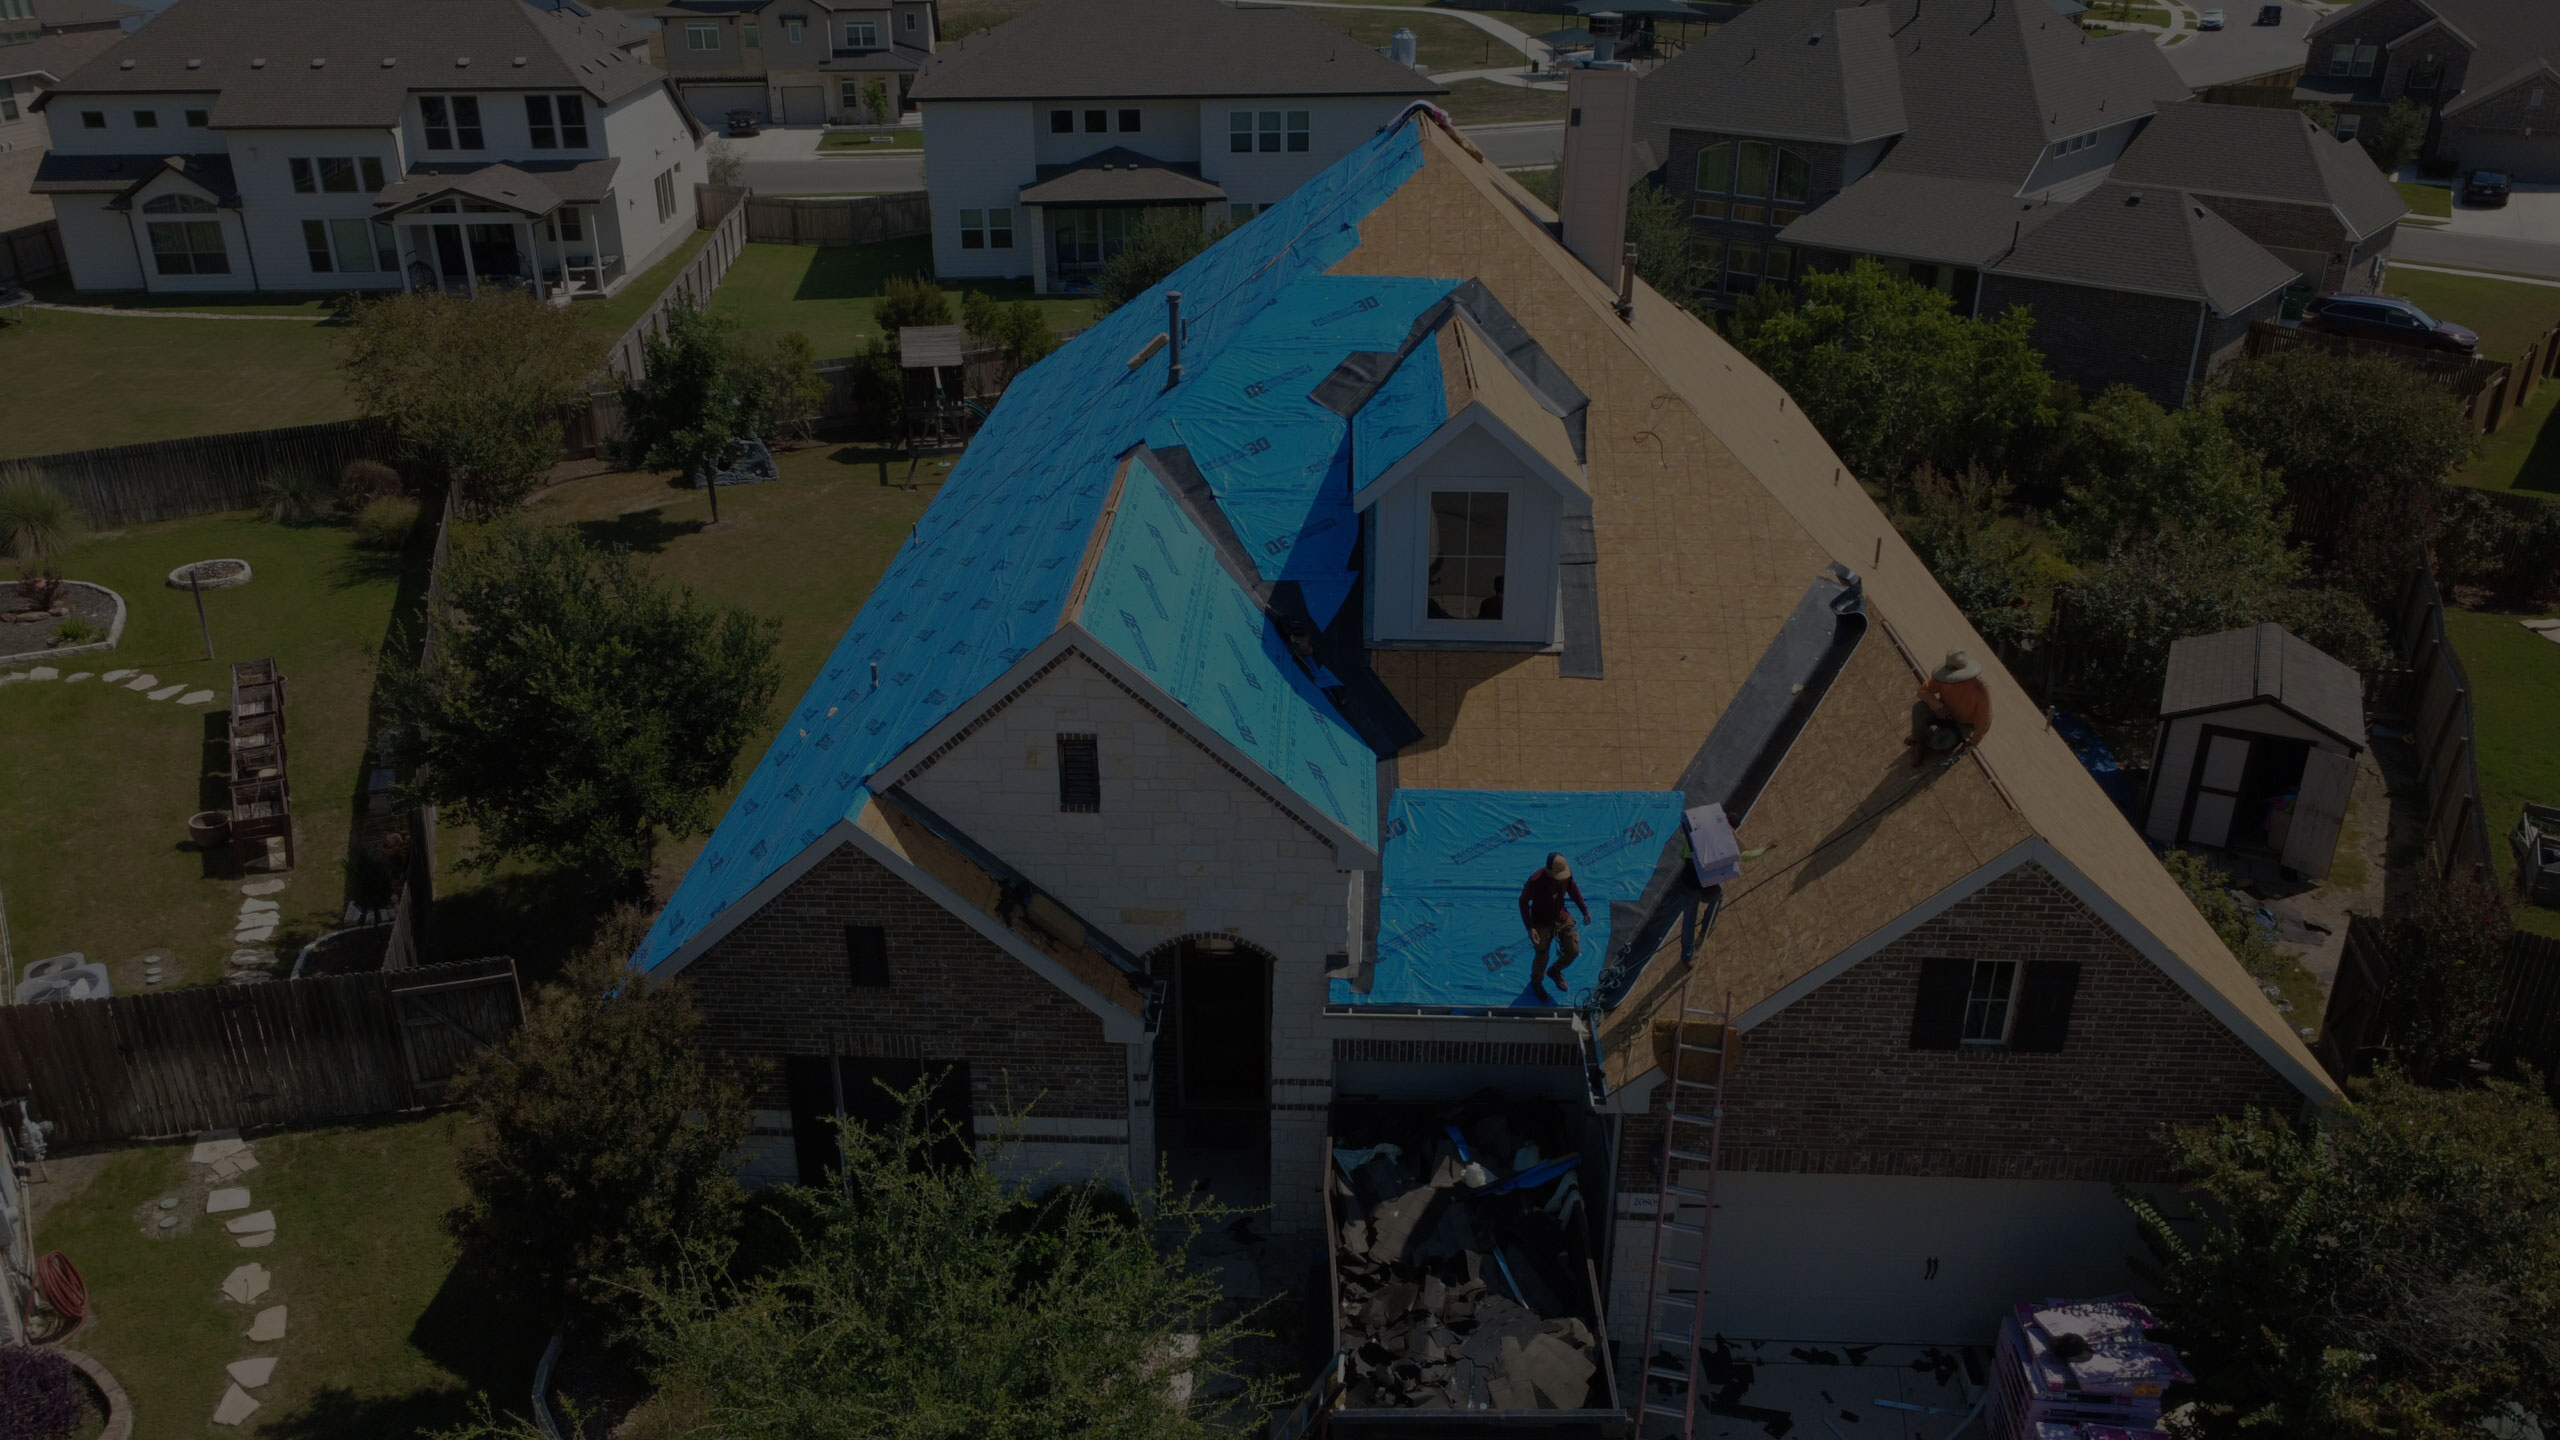
Leak detection is another part of the inspection. If you already have water stains on your ceiling, the inspector tries to trace the source on the roof. They may check attic spaces for damp insulation or mold. But not all leaks show immediately after a storm. Some take weeks to appear as water slowly travels under shingles. This is why a prompt inspection, even if you see no interior damage, is a good idea.
How to prepare before the inspector arrives
Preparation can help your claim move faster and avoid misunderstandings. Start by gathering any documents you have: your insurance policy, photos of the roof before the storm if available, and any previous repair records. If you have a roof inspection checklist from your contractor or insurer, review it so you know what the inspector will look for.
Clear the area around your home. Move vehicles, patio furniture, and potted plants away from the roof edge so the inspector can set up a ladder and walk the perimeter safely. If you have interior damage, take photos of stains or wet spots before the inspection. These pictures provide a timeline that supports your claim.
Be ready to point out any areas you suspect are damaged. Maybe you noticed a loose shingle after the last windstorm, or you heard water dripping in the attic during heavy rain. Share these observations with the inspector. They may not spot everything from above, especially on a complex roof with multiple slopes and valleys. Your knowledge of the home matters.
One thing to keep in mind: the inspector works for the insurance company or for a third-party adjusting firm. Their job is to document what they see, not to advocate for you. That is where your contractor can step in. Many homeowners in the Cedar Park area work with local roofing companies who understand the local climate and common damage patterns. A roofer can attend the inspection with you, point out issues from their perspective, and later provide a separate repair estimate that you can submit alongside the adjuster's report.
Common issues that affect the inspection outcome
Not all damage is obvious from the ground. Some of the most common problems found during an insurance roof inspection include granule loss on asphalt shingles, cracked or curled shingles, and damaged flashings around chimneys. Hail damage can also cause bruising that weakens the shingle without breaking the surface. This type of damage may not leak immediately but can lead to failure months later.

Another frequent issue is improper previous repairs. If a prior roofer patched a leak with caulk or replaced a few shingles without matching the underlying material, those areas can become weak points. The inspector may note them as pre-existing conditions, which could reduce coverage for new damage nearby.
Roof age is a factor that often surprises homeowners. A typical asphalt shingle roof lasts 20 to 25 years in Central Texas, depending on sun exposure and storm frequency. If your roof is older than that, the insurance company may apply depreciation, meaning they pay only the current value of the roof, not the full replacement cost. You may still be covered for storm damage, but the payout could be less than expected. Knowing your roof's age before you file helps you prepare for that conversation.
What happens after the inspection
The inspector files a report with the insurance company. That report includes photos, measurements, and a damage assessment. The insurer then decides what they will cover and sends you a claim determination. If you disagree with the result, you have options. You can request a reinspection, hire a public adjuster, or submit a contractor's estimate that shows additional damage the initial inspector missed.
This is where having a thorough roof inspection checklist from your own contractor becomes valuable. A good roofer will document every damaged area, take their own photos, and provide a detailed scope of work. That documentation can challenge the insurer's report if it understates the damage. Many homeowners in North Austin find that a second opinion from a local roofing specialist makes a difference in getting a fair settlement.
Keep in mind that the insurance claim process has time limits. Most policies require you to report damage within a year of the event, but some deadlines are shorter. After a storm, schedule an inspection as soon as it is safe to get on the roof. The longer you wait, the more chance that additional weather events or simple wear will complicate the claim.
Final thoughts on protecting your home and your claim
A roof inspection for insurance purposes is not just a formality. It is the foundation of your claim. Whether you are dealing with hail damage, storm restoration, or a slow leak, the inspector's report shapes what the insurance company will pay. Taking the time to prepare, knowing what to expect, and working with a knowledgeable roofer can help you get the full benefit of your policy.

If your roof is older or has had previous repairs, be honest with yourself about what may not be covered. Focus on documenting the sudden damage from the storm clearly. And if you are unsure about any step, ask your roofing contractor for guidance. A good roofer has seen many claims and can help you navigate the process without promising outcomes they cannot control.
Your roof protects everything under it. A careful inspection, paired with a clear understanding of your policy, gives you the best chance of getting the repairs you need without unnecessary delays or disputes. Understanding the role of an insurance roof inspection is not just about the process - it is about protecting your home and your investment.